Building a government website FAST with aGov
aGov is a Drupal distribution built to address the accessibility, security and design guidelines for Australian Government sites. In a previous blog, I talked about some of the benefits aGov has for public sector agencies trying to do more with less in the online environment. In this post, I'm going to show you are practical example of building a micro-site using aGov, to show you how easy, and quick, it is to get up and running.
We're going to be building a site for a government initiative, but you could easily use the same methodology for a smaller public sector agency, a special event, an informational site, or a minister.
The program we are going to build for is the AusWidget, the National Widget Literacy Program, a small initiative to help people learn about widgets. AusWidget requires a website describing what it is, how it works, and how to access widget literacy purposes.
To get us started, here's a site map of the site we are going to build…

Getting started
The first thing we need to do is get ourselves a copy of aGov and install it. Thankfully, this is very easy, as aGov can simply be downloaded for free from http://drupal.org/project/agov. Installing is as simple as installing Drupal, and the instructions are available here. Once we've got our server and database set up correctly, we can start the Drupal automated installer by visiting http://<our-site-url>/install.php.
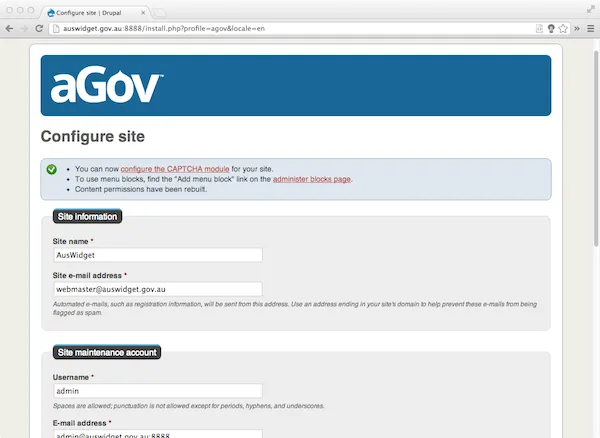
During install we get the opportunity set a few key details for our site, including its name and default email address, and the user known as "User 1", a user with full access to the entire system. This users login details should be secure, with a strong password, and not shared with anyone but those who need it.
We also get the option to install default content, which we can do to get a better picture of how our site holds together. Tou can simply turn the default content after you've had a good look at the site.
Out of the box
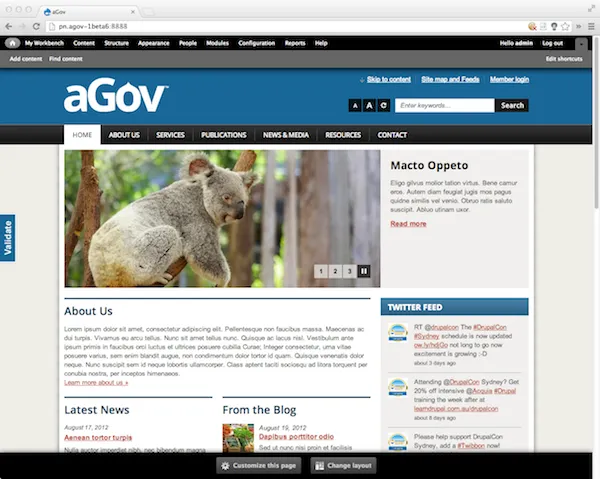
Straight away, we have an accessible, responsive theme at our finger tips. Because AusWidget uses the colours Blue and White, the first thing Im going to do is choose a different colour scheme to best represent the program. This is easily done by visiting the Appearance page, chosing the "Settings" option for the aGov theme, and changing the colour scheme to "Reid", which is a white scheme with blue highlights.
AusWidget obviously doesnt want to use the default content, so we can switch this off simply by following the on-screen prompt to disable it.
Next, we need to change the branding. At the top of the Appearance page there are three tabs, "List", "Update" and "Settings". Selecting Settings allows us to upload a new logo.
At this point, Im also going to do a couple of other small tasks to get my site ready to enter content:
- Remove the Twitter block, by visiting Structure > Blocks, and moving it to disabled.
- Cleaning up the main menu. Right now, aGov will add a few default menu items to this list. Until this is fixed, we can disable them very easily at Structure > Menus > Main Menu.
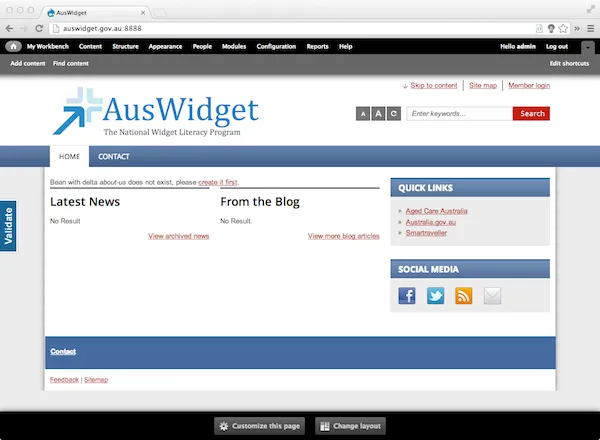
This is how our site looks now, and we're ready to start building…
Creating content
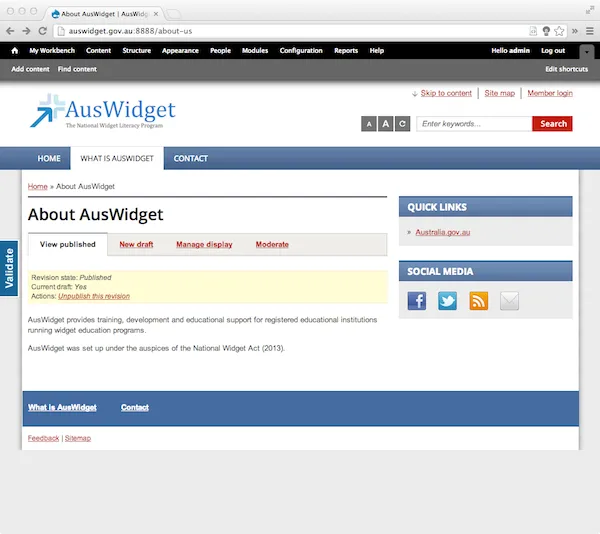
Creating new content in aGov is easy. aGov comes preloaded with a WYSIWYG editor and a media library tool, to take the pain out of authoring your sites content. The finished content can be given a menu item, work flowed, and have embedded images. For AusWidget, we're creating a "What is AusWidget" page, which provides a brief description of AusWidget.
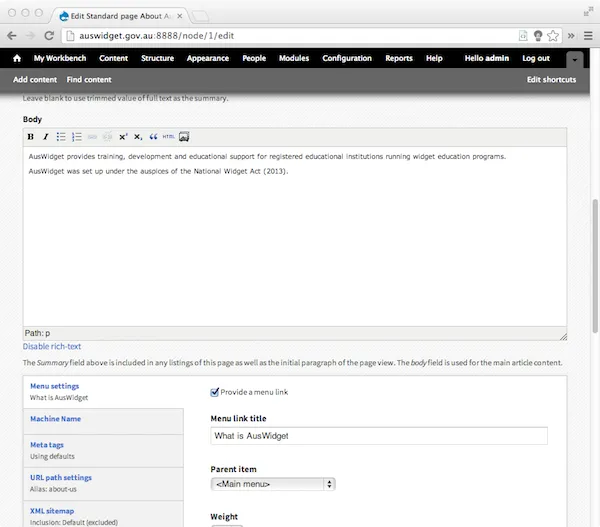
And here's the completed content…
Adding content to different parts of the site
Creating a simple piece of content is fine, however our homepage still looks pretty empty. We'll need to populate that if we want to release our site. In addition, there's a somewhat confusing message on our homepage, "Bean with delta about-us does not exist, please create it first". What does that actually mean?
Drupal, on which aGov is based, separates content into "Content types" and "Blocks". You can see all the available content types when you go to "Add Content" (e.g. News, Events, etc). As you create new content from Content Types, they will start automatically appearing in their relevant listings – like those on the home page, or under a News menu item – when created (incidentally, these are called Views).
Tip: Content created from a content type is known as a "node". Nodes may be thought of as your "content pool". Unlike Blocks, nodes support revisions and workflow.
Sometimes, however, you just want to place a specific piece of content in a page or the sidebar, and for this we use Blocks (also sometimes referred to as Beans). Out-of-the-box, aGov is looking for a block to insert into the homepage panel called "about-us", however because we've disabled default content, this block does not exist. We're going to create a new block and place it here.
Adding a Block
Blocks, like Content, have "types" in aGov. By default two types are available, a "Basic Content" block, which is good for placing small sections of text or custom HTML into sidebars and home pages, and an "Image and Text" type, which is good for formatting images to float left or right alongside a piece of text, and is good for creating section home pages linking to other content (the Default Content contains examples of its usage). We're going to add a "Basic Content" block, with some basic details about this site. Once we're done, we're going to save the block and return the homepage.
Tip: If you want to find all your blocks later, you can see them under Content > Blocks.
At the bottom of the homepage is a big button marked "Customise this page". By clicking that we activate the In-Place-Editor for this page. In the "Main Region" we can see a placeholder for the "about-us" block (which doesn't exist). We're going to remove this (click the trash can), and add our own block.
At the side of the "Main Region" there is a + button. Clicking this brings up a window which allows us to add existing or new content to this page. There's lots of options in here, but we're going to select the "Beans" section, choose "Rendered Bean", then when given the option, choose the Block we just created from the list. Also, tick "Override title" and leave it blank. This prevents duplicate titles from occurring.
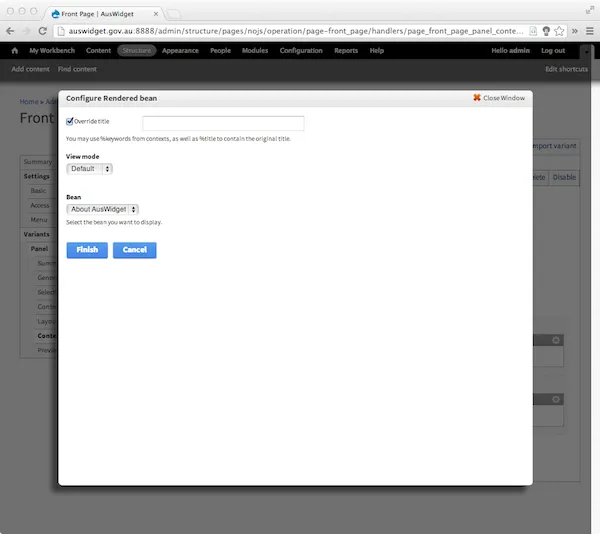
Click Finish, then Save, from the In Place Editor, and you should return to the homepage.
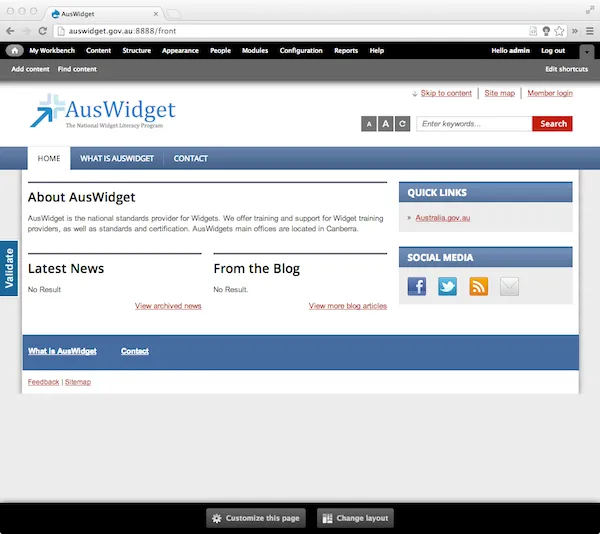
Finalising the site
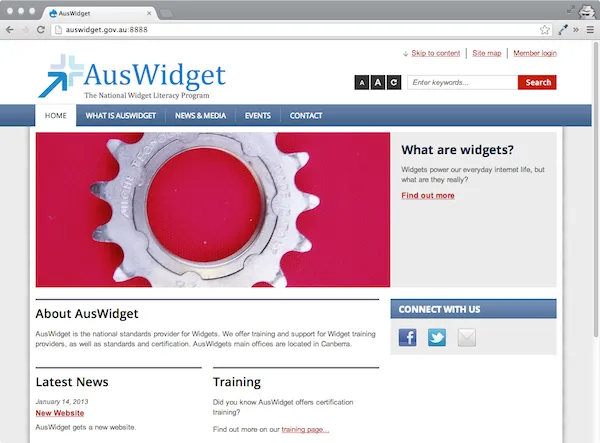
There's a couple more things to do before we're ready to go live with this site. Here's what I've done to complete it…
- Updated the Social Media block in the sidebar (there's a little toggle when you hover over it, which allows you to edit it)
- Swapped the homepage Blog listing for a simple Block with Training information, just like our About AusWidget block
- Added a News Item via Add Content, so the News list starts to be populated
- Enabled the News & Media menu item, and tidied up that page by removing the placeholders and adding a simple View of News items.
- Added an Events page
- Add a new Slider item (its content like news or events) with a big widget picture, and placed the Slider View block in the Featured Articles region
There might be more things we want to do (such as configuring the Contact page settings, or adding a Disclaimer page), but otherwise the AusWidget site is complete, and ready to go.

aGov is a free open source Drupal 7 distribution developed specifically for Australian Government organisations, that complies with all Australian Government standards and provides a full suite of essential website management features.
Find out more at aGov.com.au.